Creating your own lip balm at home is a delightful and rewarding experience. It allows you to control the ingredients and customize the flavor to your preferences. Here’s a detailed guide on how to flavor your lip balm using various oils and natural ingredients, ensuring a perfect blend of taste and quality.
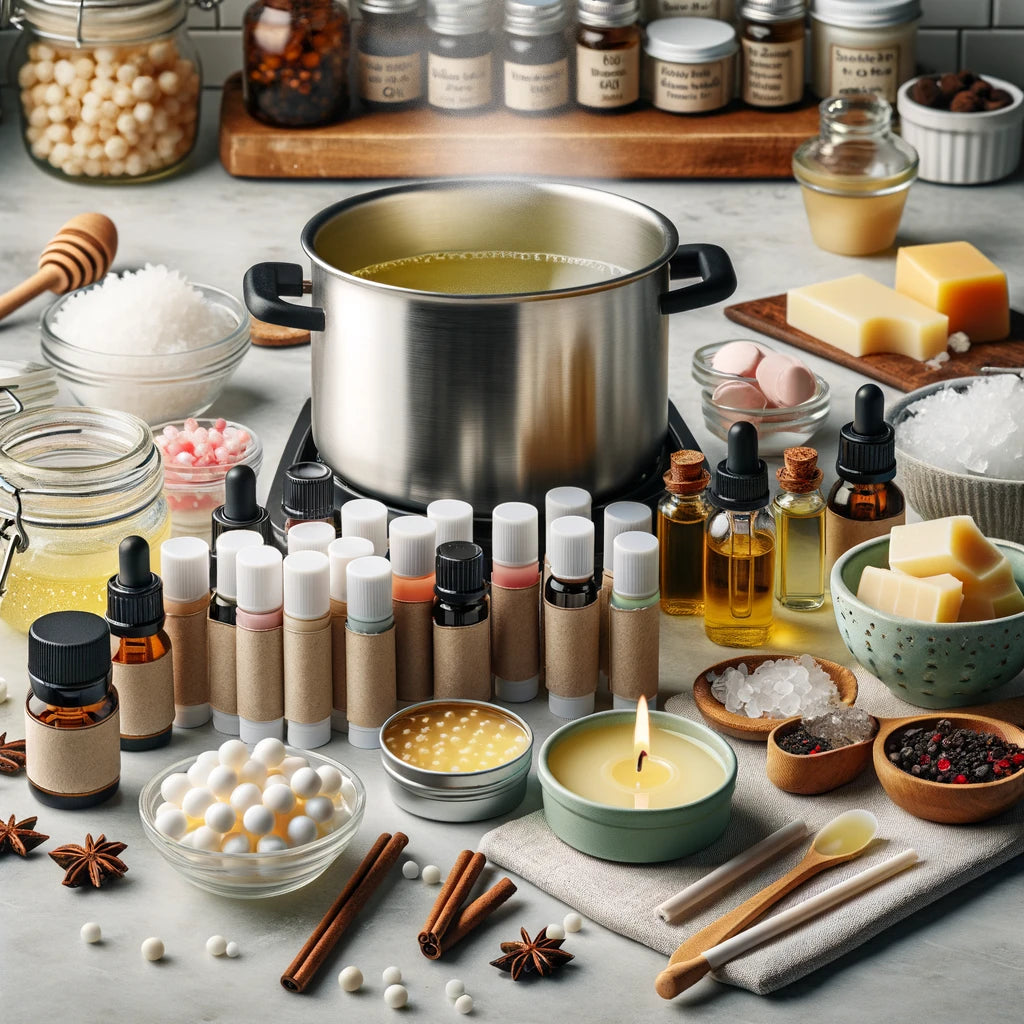
Lip Balm Ingredients and Tools You’ll Need:
Base Ingredients:
-
Beeswax: Provides structure to the lip balm and helps to lock in moisture.
-
Shea Butter: Rich in vitamins and fatty acids, it nourishes and softens the lips.
- Coconut Oil: Moisturizes and protects the lips with its natural emollient properties.
Flavored Lip Balm Ingredients:
-
Flavor Oils: These are specifically designed for lip products, available in a variety of flavors like peppermint, vanilla, strawberry, and more.
-
Essential Oils: These can add both flavor and fragrance but should be used sparingly due to their potency. Popular choices include lavender, lemon, and mint.
- Natural Flavorings: Ingredients such as vanilla extract, cocoa powder, and even finely ground spices can add a natural touch to your lip balm.
DIY Tools:
-
Double Boiler: For gently
melting your lip balm base ingredients together.
-
Lip Balm Tubes or Tins: For storing your finished lip balm.
-
Glass Measuring Cup: To measure and pour your
melted lip balm mixture accurately.
- Stirring Utensil: A small spoon or spatula to mix the ingredients thoroughly.
Step-by-Step Guide:
Step 1: Preparing Your Homemade Lip Balm Ingredients
Before you begin, gather all your ingredients and tools. Measure out equal parts of beeswax, shea butter, and coconut oil. This balanced ratio will create a firm yet smooth lip balm base that is easy to apply and feels great on the lips.
Step 2: Make Lip Balm Base
Using a double boiler, combine the beeswax, shea butter, and coconut oil. Heat the mixture gently, stirring occasionally until all the ingredients are completely
Step 3: Adding Your Flavor Oil
Once your base is
-
Flavor Oils: Add a few drops of your chosen flavor oil to the mixture. Typically, you’ll want to add 1-2% of the total mixture in flavor oil. For instance, if you have 100 grams of base, add 1-2 grams of flavor oil. Start with a small amount and add more if needed after a taste test.
-
Essential Oils: If using essential oils, be very cautious. Only a drop or two is usually sufficient. Essential oils are highly concentrated scents and can be overpowering if used excessively.
- Natural Flavorings: For natural options like vanilla extract or cocoa powder, add them slowly while stirring. Be mindful of the texture – too much liquid extract can make the balm too soft, while powders need to be fully incorporated to avoid graininess.
Step 4: Pouring and Hardening
Carefully pour the mixture into your prepared lip balm tubes or tins. Using a glass measuring cup with a spout can make this step easier and less messy. Allow the lip balm to cool and harden at room temperature. This process typically takes a few hours, but you can speed it up by placing the containers in the refrigerator and pouring in batches.
Step 5: Labeling and Storing
Once the lip balm has fully hardened, cap the tubes or tins and label them. This is especially useful if you’ve made multiple flavors. Store your lip balm in a cool, dry place away from direct sunlight to maintain its quality and shelf life.
Tips for Success:
-
Testing Your Flavor: Before pouring all the mixture, test a small amount to ensure the flavor strength is to your liking. Adjust the flavoring as necessary.
-
Experimenting with Blends: Don’t be afraid to mix different flavors. Some popular combinations include mint chocolate, citrus vanilla, and lavender honey. Experimenting can lead to discovering your perfect blend.
- Ensuring Safety: Always ensure that the oils you use are safe for lip application. Avoid using oils that can cause irritation or are not meant for ingestion.
Basic Lip Balm Troubleshooting & Common Issues:
-
Grainy Texture: If your lip balm has a grainy texture, it might be due to the shea butter. To fix this,
melt the balm again and let it cool slowly.
-
Soft or
Melting Balm: If your lip balm is too soft or liquifies easily, increase the amount of beeswax in your recipe. Beeswax helps to solidify the balm.
- Flavor Not Strong Enough: If the flavor isn’t strong enough, you can remelt the balm and add more flavor oil, but be careful not to add too much.
Final Thoughts
Flavoring your lip balm adds a personal touch to a basic lip balm recipe. By following this comprehensive guide, you can create a variety of natural lip balms that not only moisturize but also leave a delightful taste on your lips. Whether you’re making these for yourself or as gifts for friends and family, the possibilities are endless and the results are always satisfying. Happy crafting!